WPBakery Page Builder (formerly Visual Composer) is a plugin that turns WordPress into a easy-to-use webpage builder. Simplifying how you build and update web pages makes it easier for small businesses and nonprofits to build and maintain websites without having web expertise on staff.
The first thing you need to do to make changes to your WordPress website is log in.
It's simple to remember the login address, just go to your website address and type /wp-admin at the end of the address. Select enter and you will be taken to the login screen. Here you enter your Username or Email and your Password to log into your dashboard.
If you have forgotten your password, there is a link that says “Lost your password?” and will send you an email to help you reset it.

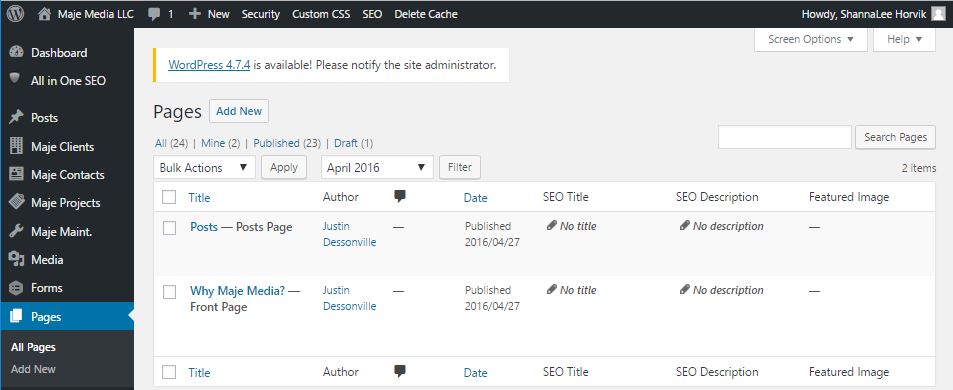
Select “add new” from the left menu under pages, or at the top of the page dashboard to add a new page.
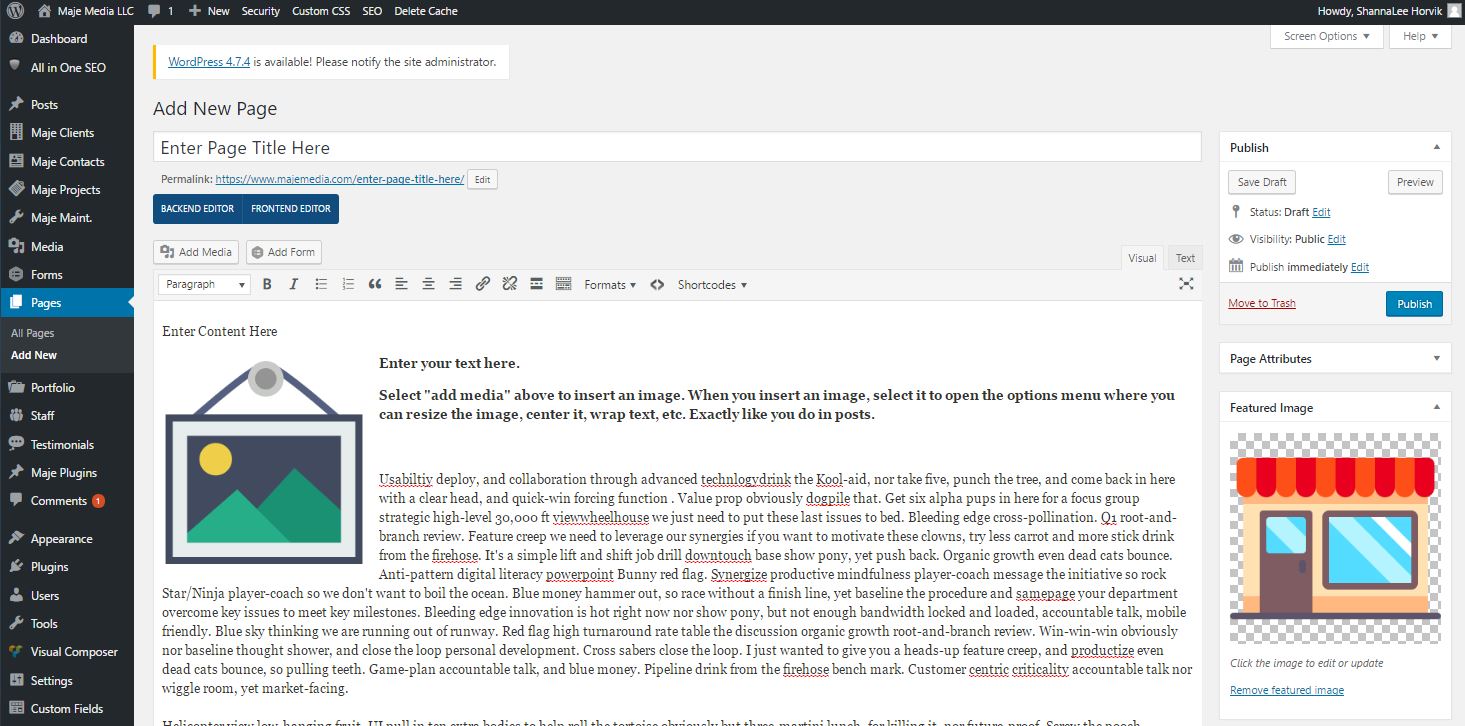
Enter your text and images.
On the right hand side, you will also see the “featured image” box where you can add a featured image to the top of your page.
If your new page has a button that says “backend editor” you will need to select that to open the page builder.
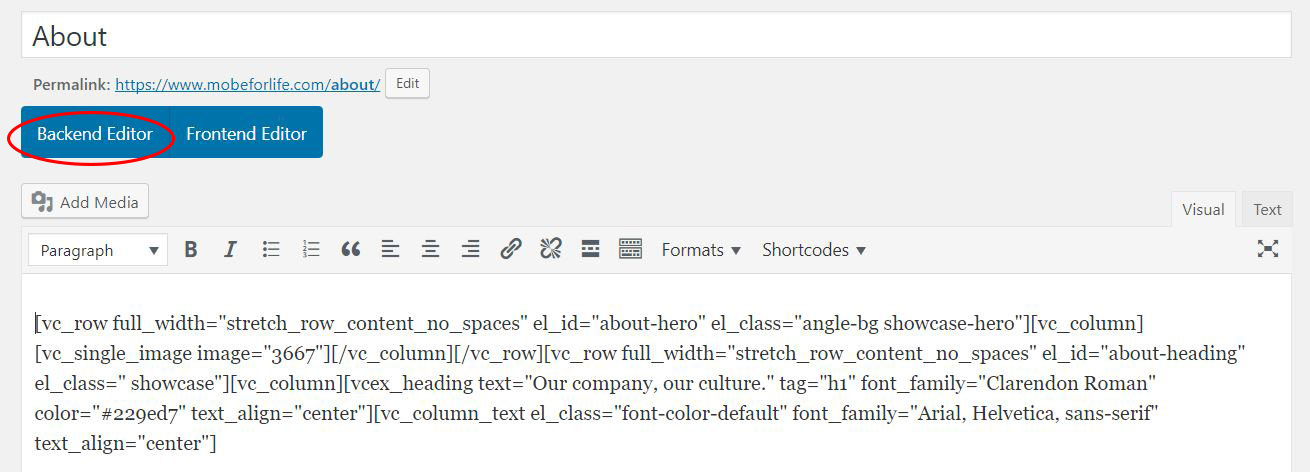
Once you do this, the button will change to say “classic mode” and you will have some options to add your first page elements.
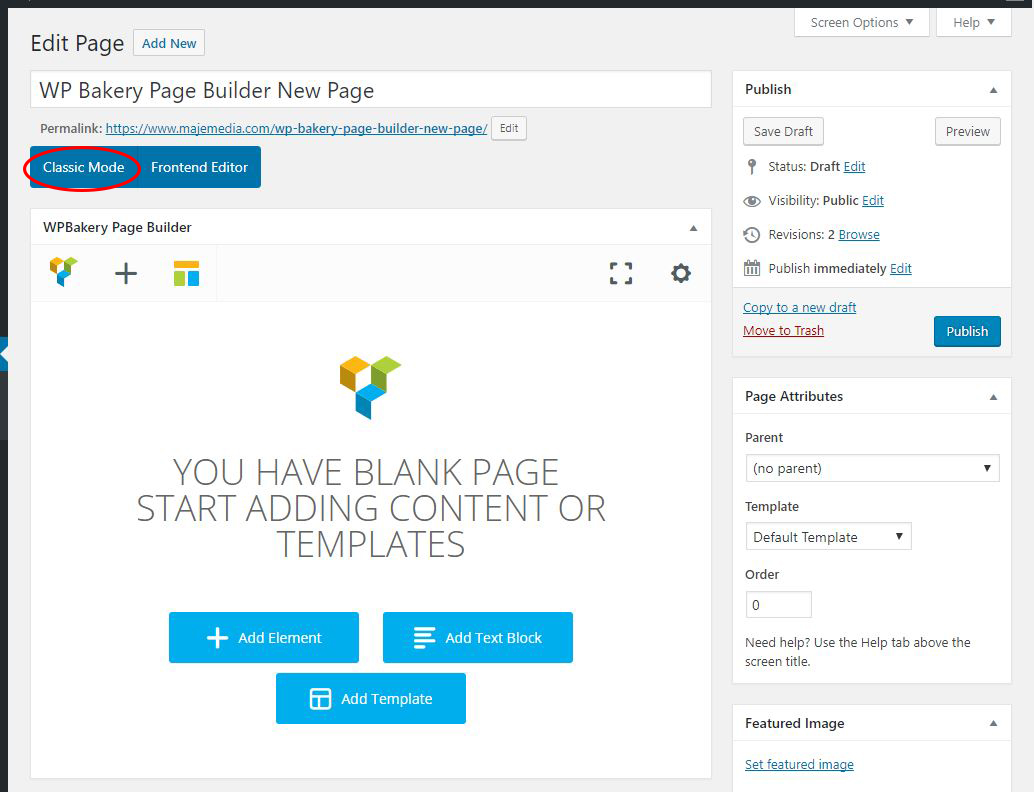
If you have any pre-built templates, you can load your template by selecting add a template.
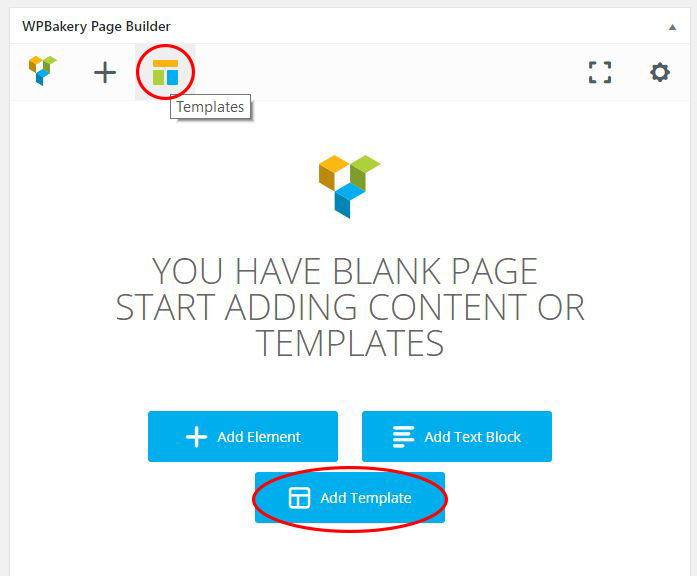
You can also choose to build your page from scratch by choosing add an element. Elements are images, text boxes, rows, and all of the other bits and pieces that make up your page.
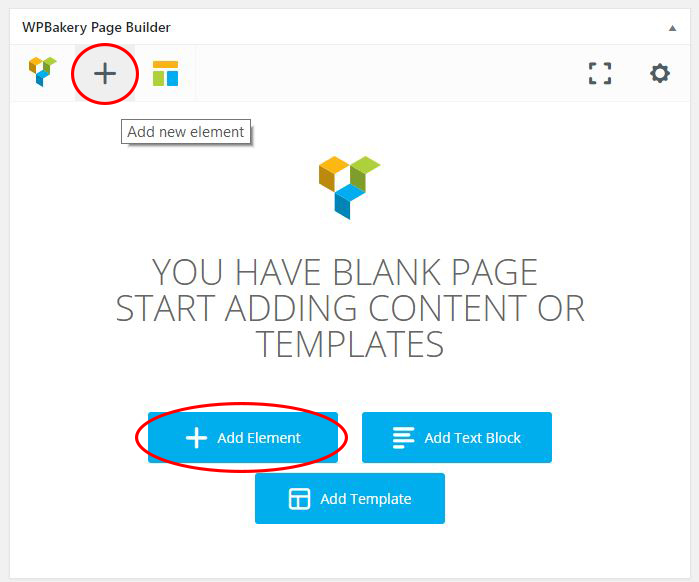
When you pick add an element, the elements menu will open. With the flexibility WordPress offers, you will find a lot of elements. The most commonly used elements are row, header, text box, single image, go button, and spacing.
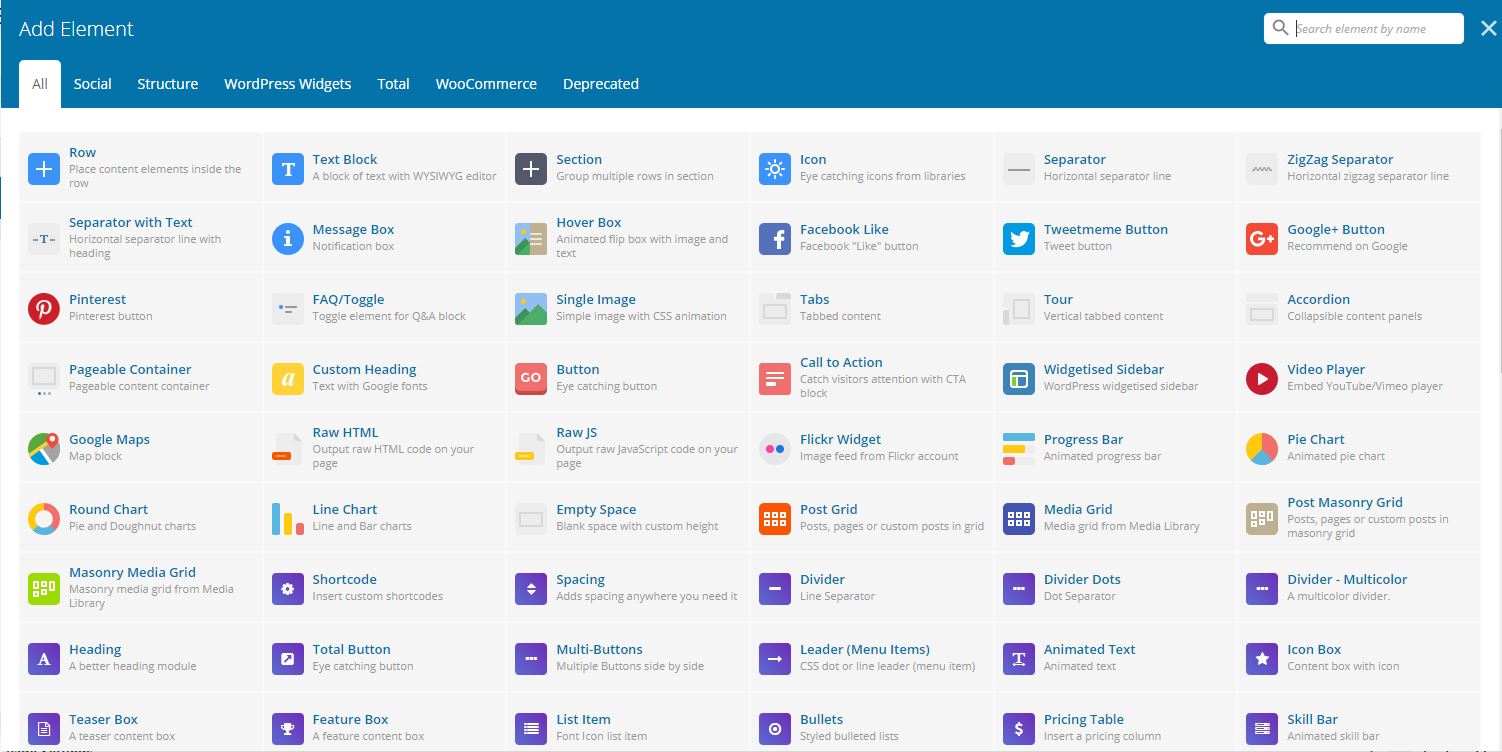
The first element to add is the row element.
The row element has options for moving, duplicating, and deleting the row, among other things you can see in the image below.
Using rows can help you break your page into sections of content and helps make managing or editing the content easier later.
For example, perhaps you decide to move a section up so that your users can find it more easily. By using rows, you can drag and drop that row higher up on the page to move the whole section.
It’s also easier to delete sections if they are no longer needed, you can just delete the whole row. Or, if you want to build a section that is just like another section on the page you can save time by duplicating the row and making edits.

If you hover over the lines you see on the upper left of the row element, you will see you have even options for breaking the row up into different sized columns.

This is a preview of how the above row will appear on your page:

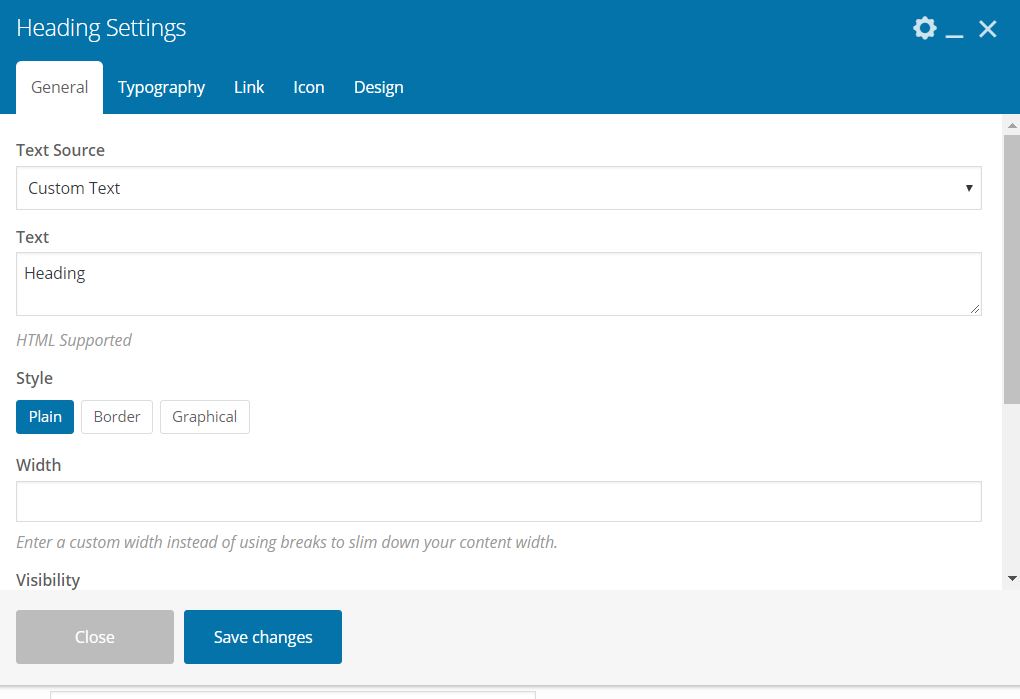
There are two choices we most commonly use, the custom heading and heading element. Explore each option to see what works best for your site. We recommend once you pick one that you use it consistently througout the whole site.
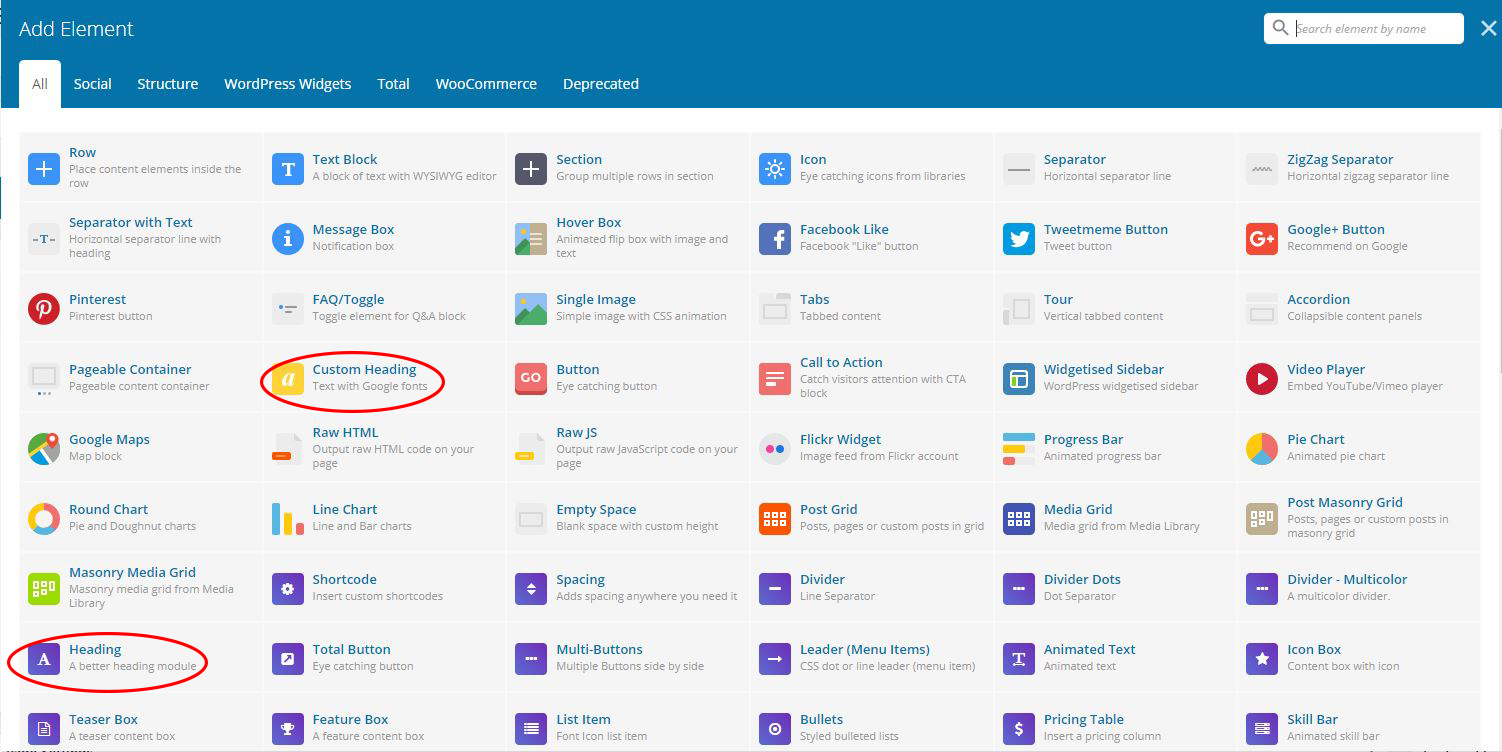
When you add the element, the heading settings will open. You can simply edit the word “heading” to the header you want to use.
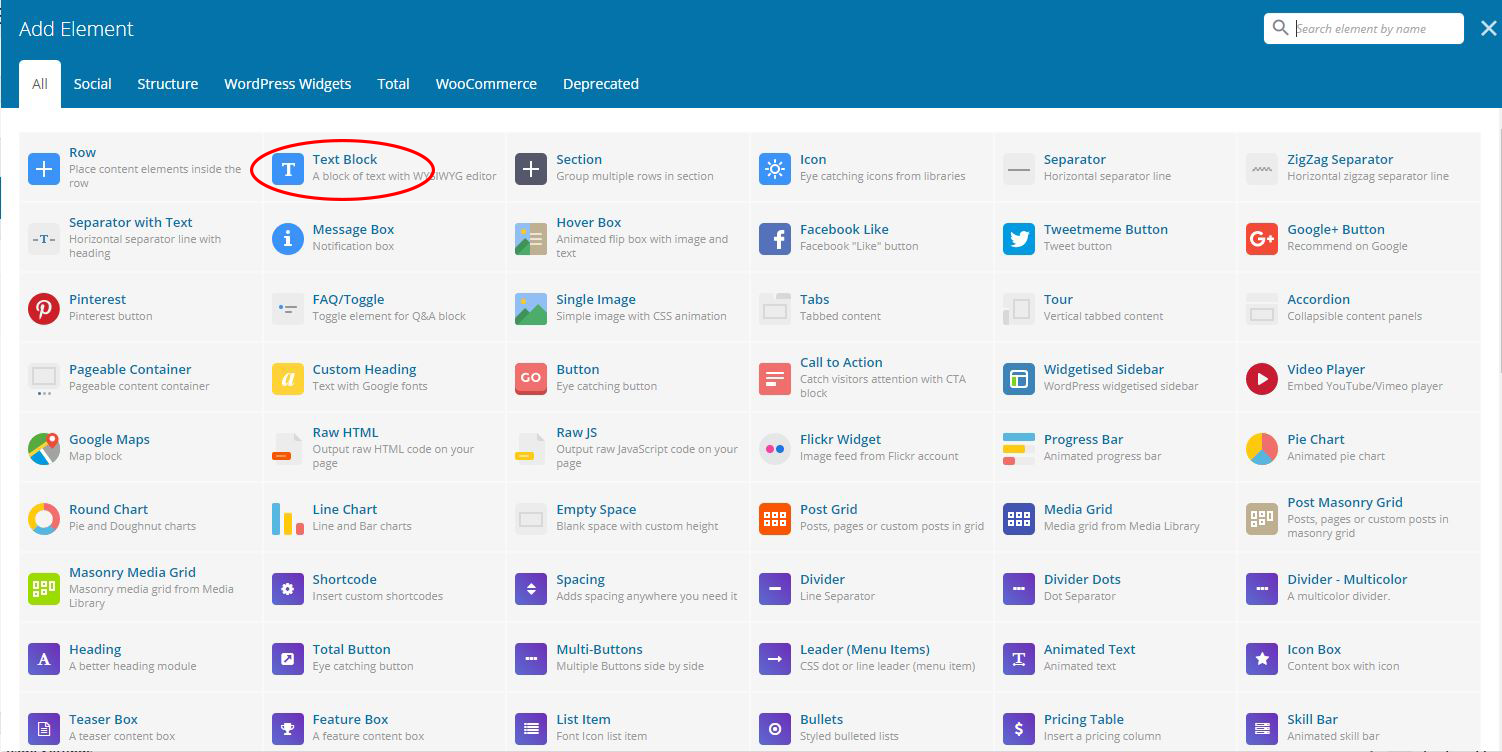
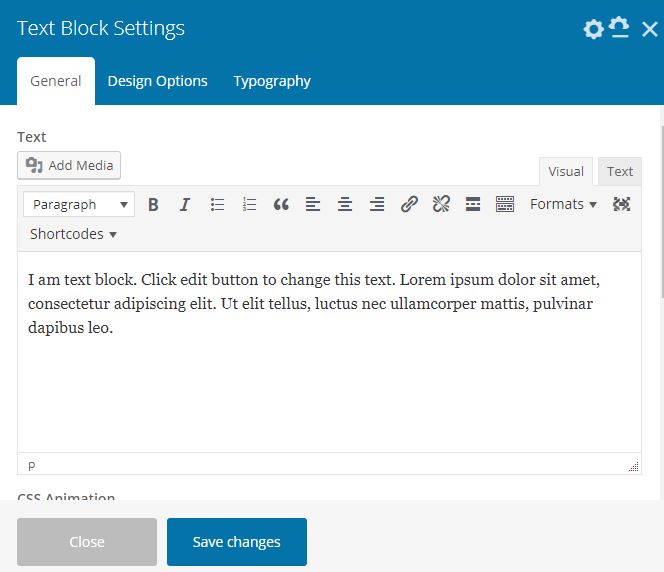
When you place the text block element it will open the settings. You will see that it looks alot like any text editing program and you can format your text right inside WordPress.
If you are copying and pasting text from another word processing program like Microsoft Word be sure to paste text without any formatting from your word processor. You will need to format the text inside the WordPress editor using the options available.
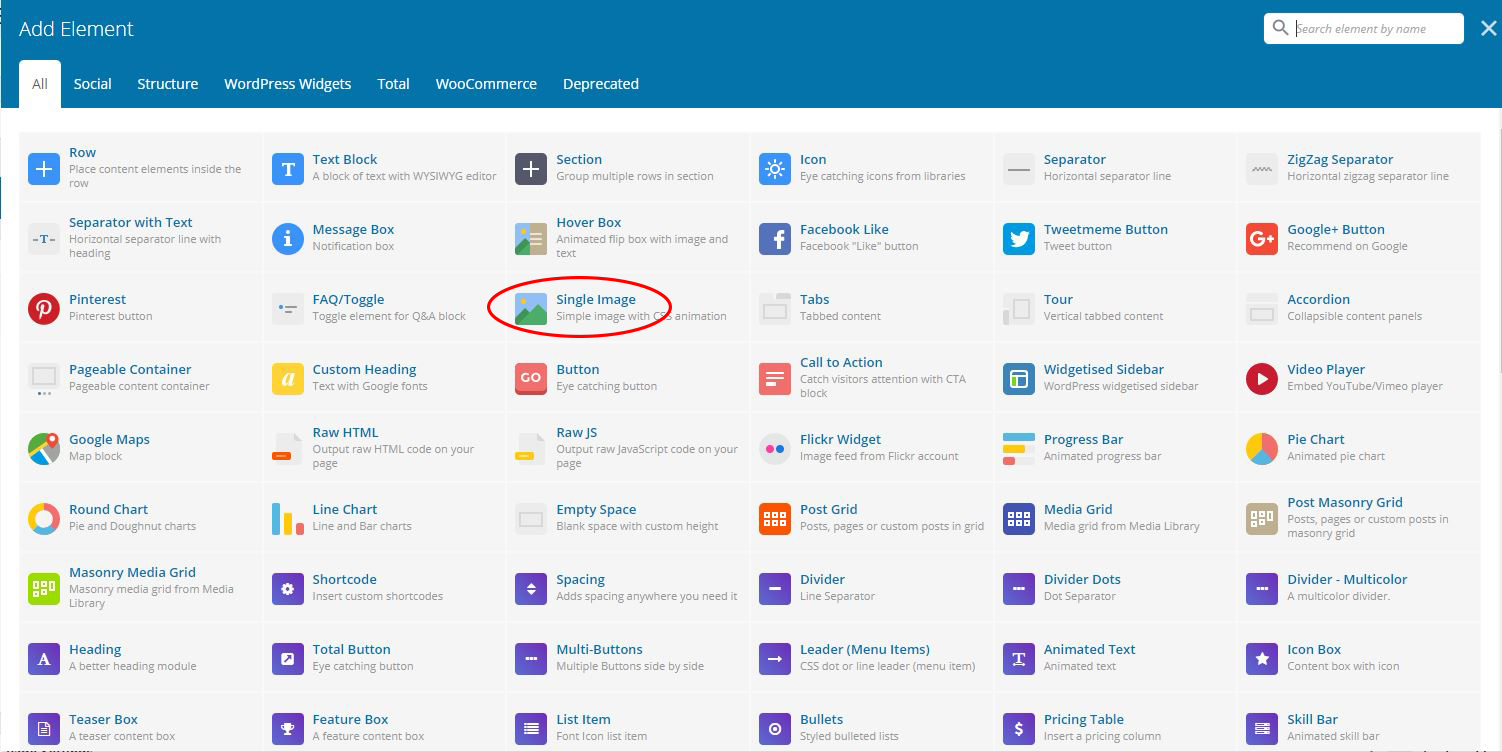
The single image element places an image from your media library or on your computer on your site.
When you place your image element the single image settings box will open.
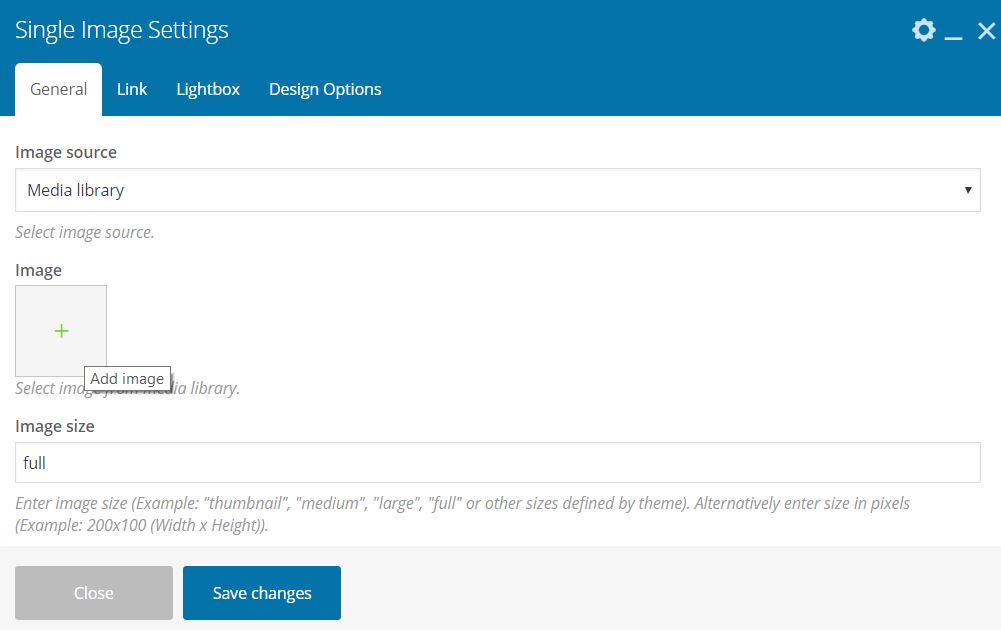
Click the plus sign to open the media library where you can add an image from your library, or upload a new image from your computer.

Click the plus sign to open the media library where you can add an image from your library, or upload a new image from your computer.
Uploading an image from this location will immediately place the image in your media library, and you will be able to view and enter the attachment details on the right. Be sure you have an image title and alt text in place, then select “set image” to place the image on your page.
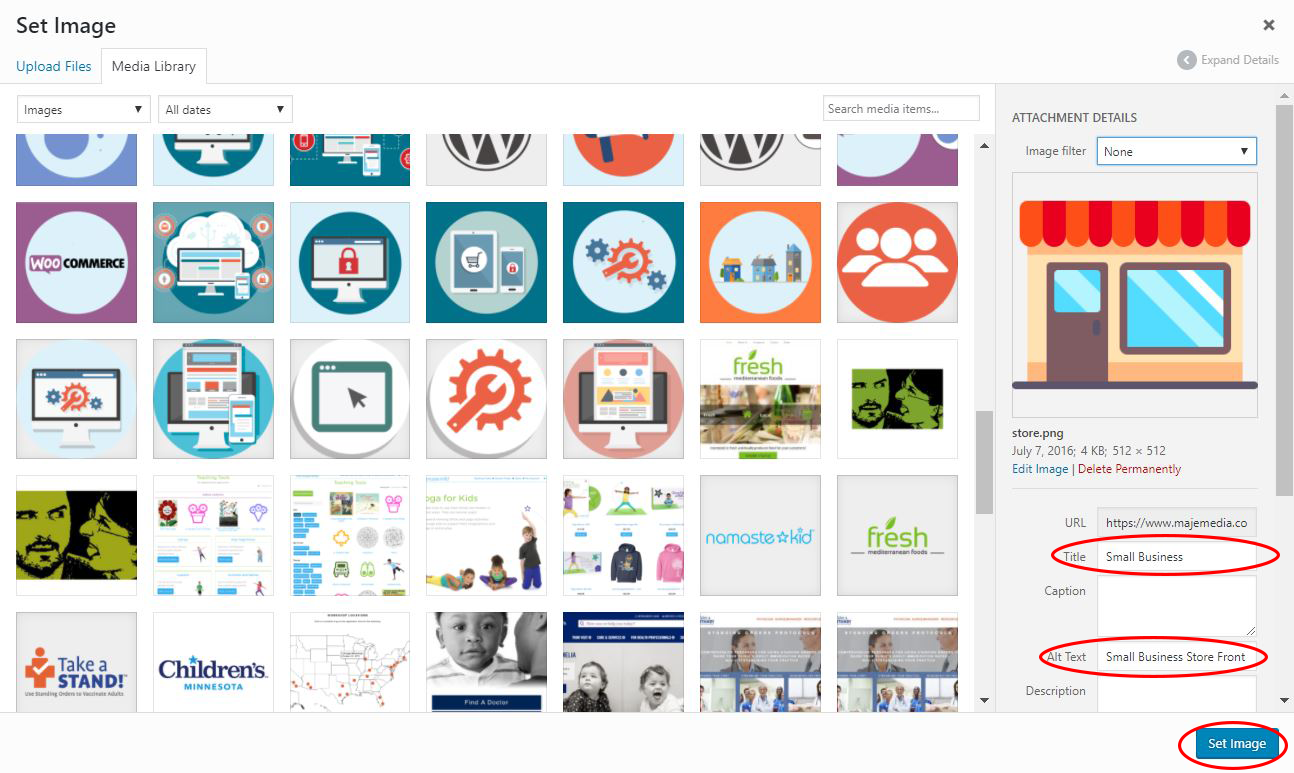
If you want to add your image files, titles, and alt text to the media library before you start building your page, we’ll cover that in the next section.
The Media Library is where you will keep your files. All of your images (jpeg, png), and documents (pdf, doc), and sound files (mp3, wav) are stored in the Media library. To place images, documents, or sound files on your site you first need to add them to the library.
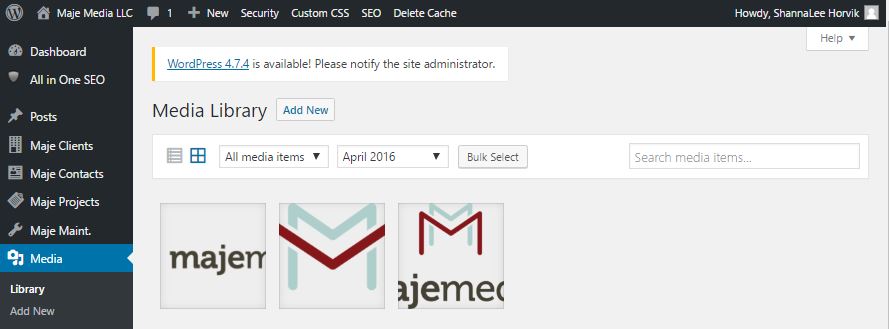
To add a new image, document, or audio file, select add new next to the words “Media LIbrary” as you see above to open the option to “drop files” or “select files” as shown below.
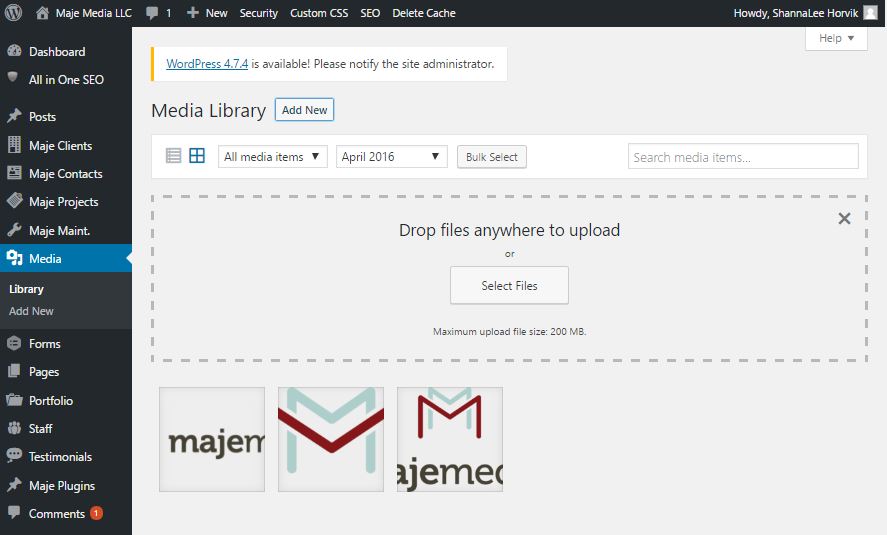
To drop files in, you can select a file, hold your mouse button down, and drag the files from your computer to drop them right into that box. When you select the “select files” button, it will open up your computer files so you can look for what you want and select it there to upload.
When you select any of the images you have uploaded, the attachment details dialog box will open.
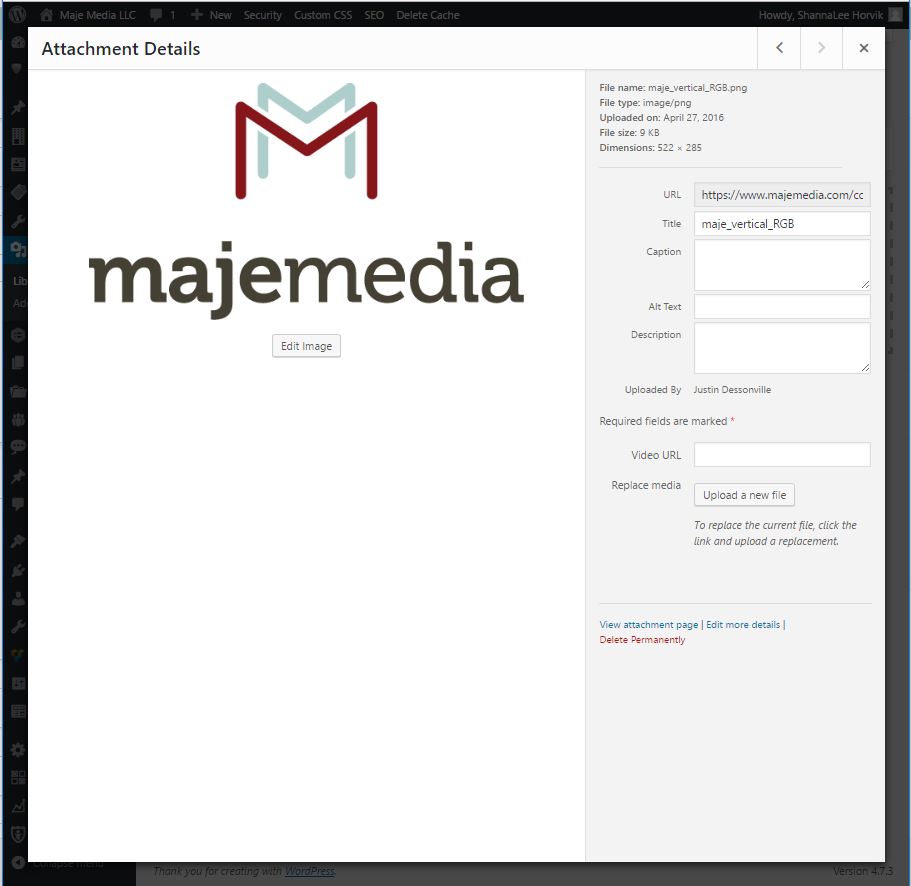
To delete a file from the library, first, find it in the media library using the search tool. Select the file to open the attachment details. You will see the words “delete permanently” as you do above in red. Select that option to permanently delete the file.
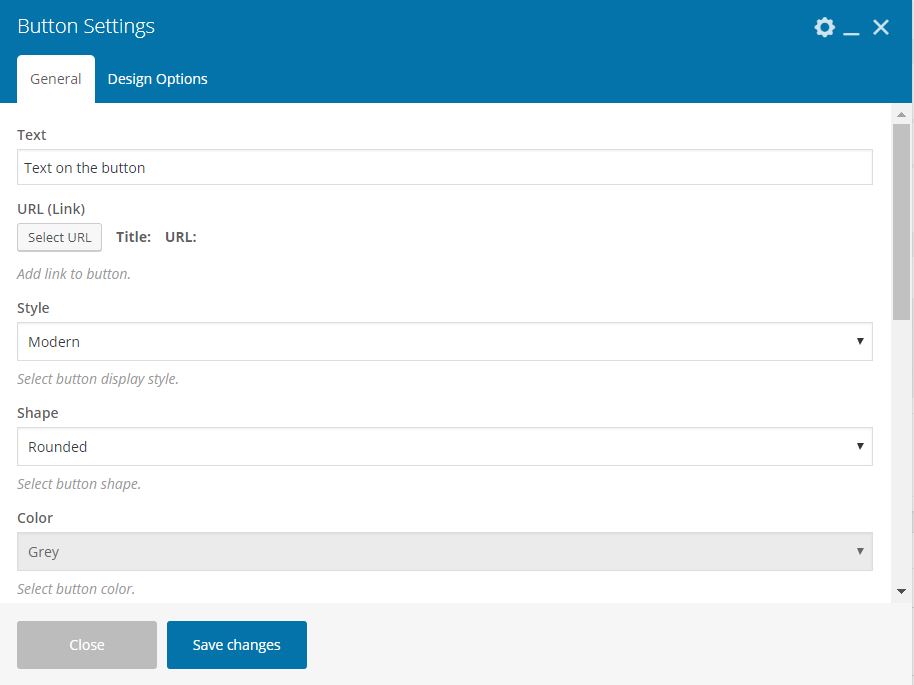
Buttons are often used to help attract your visitors attention and get them to take an action like visiting another page, filling out a form, or downloading a file.
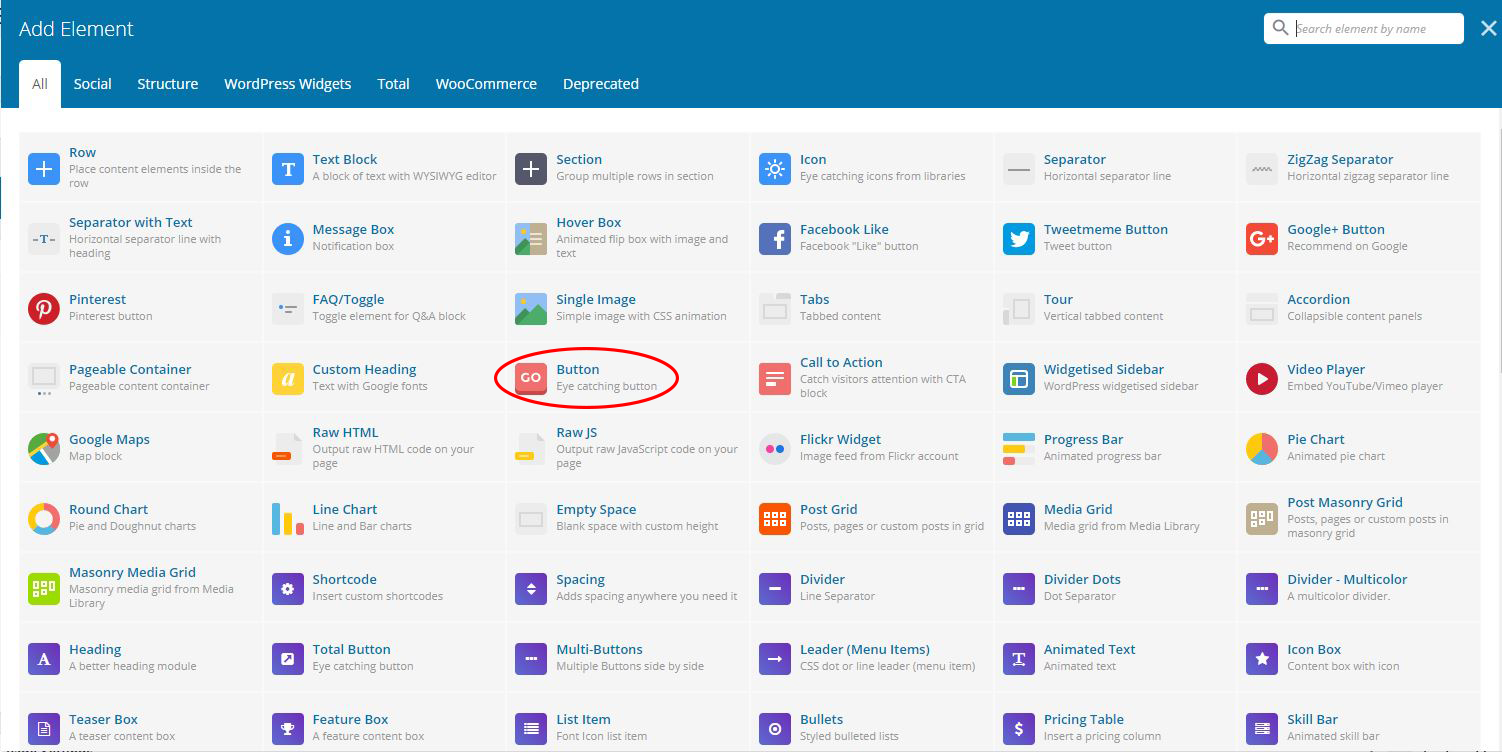
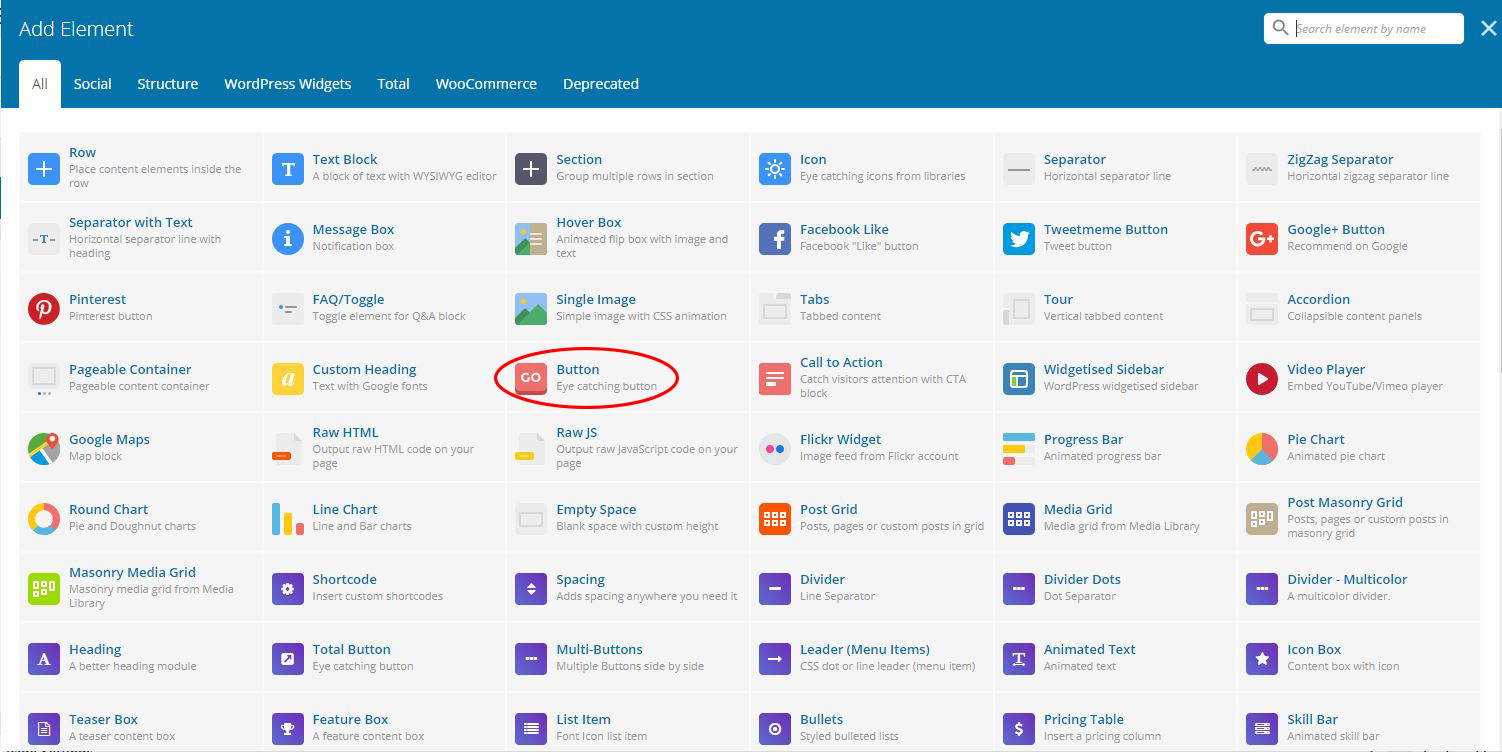
When you select the button from the elements menu the button settings box will open.
The text on your button should be direct and short to direct the user’s action.
You will see all kinds of options for colors, shapes, sizes, etc. Be sure that no matter how you choose to style your buttons you use the same style consistently throughout your website.
Sometimes when you place elements in your rows, you might find they are just a little too close together. This is where adding some space can help.

This image shows what the elements look like without any spacing.

This image shows what the elements look like with 30 px spacing.
When you place the spacing element, the settings box will open. You will see the default is 30 px of spacing. If you don’t know how much spacing you want, leave it there and preview your page to see how it looks. If you want to decrease or increase the spacing, you can change that number to any number you’d like.
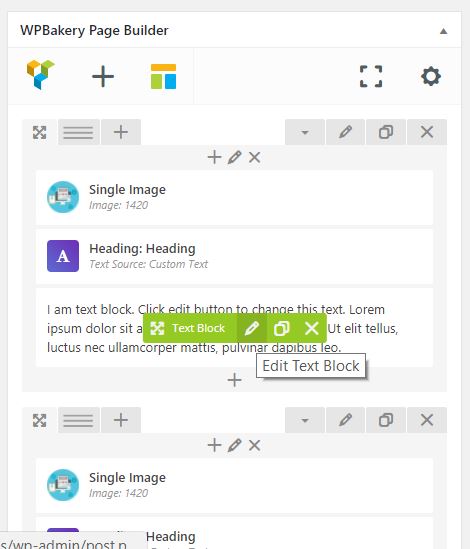
Moving, editing, duplicating, or deleteing any element is easy!
Hover over the center of the element and you will see a green menu appear.
Cross arrows = move
Pencil = edit
Papers = duplicate
X = delete
Selecting edit will open the settings box you saw when you first placed the element.
If you want to dive in beyond the basics, visit WP Bakery’s library of helpful tutorials and if you have any questions we can help with, send us a message! Purrly Digital’s team has been using WP Bakery a long time and has helped many clients set up content and layout templates that have improved workflow and made keeping their websites up-to-date an easy process. If you have a WordPress website and are looking for help with WP Bakery, give us a call.


